How to paint Birds of Prey

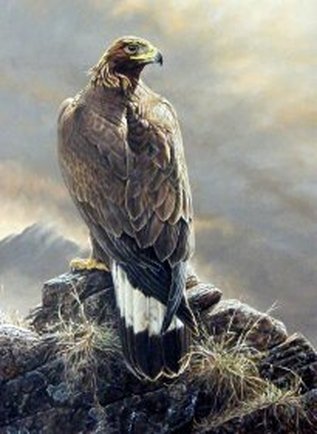
Here I plan on taking you through my approach to painting a bird of prey.
First you need to decide on how you are going to present your image. This will depend on your confidence in your abilities and your references materials, whether they are field studies, sketches or photographs you have taken. Then you need to decide the basis of your piece of artwork, are you doing a portrait, a basic study, the bird in its natural habitat, or a full blow action scene? The last two will mean having the correct habitat or landscape references (e.g. Harpy eagles are not normally found in the Scottish Highland, nor Gyrfalcons in the Amazon) so a trip out into the wild is called for. Once again, it is better to do your own legwork; you can’t beat being there yourself.
You should now have the basics to start your artwork. But before rushing in and copying one or more of your reference images you should plan your picture. This means thinking about composition and lighting. Even with a portrait, your image has to look right to the viewer – be it you, the purchaser, a falconer or a professor of zoology, unless the bird is square-on to the viewer, looking straight out the picture, never put the subject right in the centre of the picture. Apart from this one instance, there are no real rules to composition. In fact, in nature the so called rules are constantly being broken, your bird could be in the top right of the picture looking up with its back to the viewer, flying down, into the painting, out of the painting.
This should be enough for you to be getting on with now, so tune in soon for the next phase of the process.


